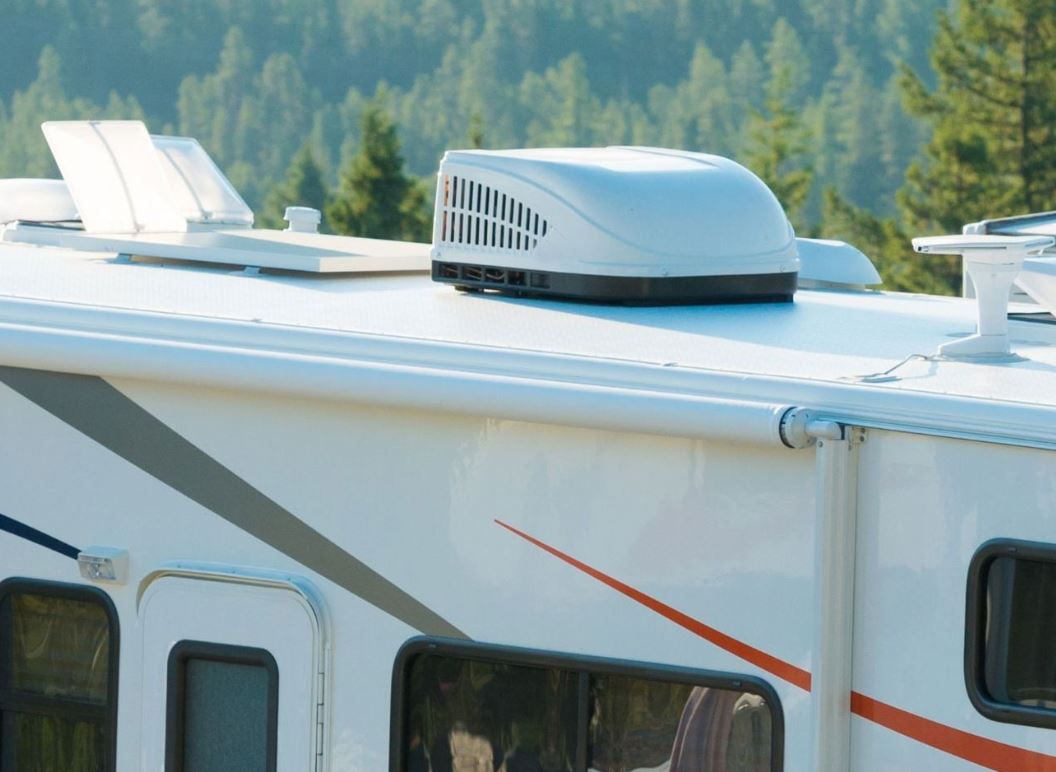
With summer just around the corner, it’s time to ensure your RV is prepared for the warmer weather and the adventures that come with it. One crucial aspect to focus on is your RV air conditioner. As temperatures rise, you’ll want your air conditioner to function at its best to keep you comfortable during your travels. In this guide, we’ll walk you through the steps to prepare your RV air conditioner for the upcoming summer trips.
1. Inspect and Clean the Air Filters
Start by inspecting the air filters of your RV air conditioner. Over time, dust, debris, and other particles can accumulate, hindering airflow and reducing the efficiency of your unit. Remove the filters and clean them thoroughly. If the filters are damaged or worn out, consider replacing them with new ones to ensure optimal performance.
2. Check for Leaks and Damage
Inspect the air conditioning unit for any signs of leaks or damage. Check the seals and gaskets for cracks or wear and tear. If you notice any leaks, have them repaired promptly to prevent further damage and ensure that your air conditioner operates efficiently.
3. Clean the Coils
The condenser and evaporator coils of your RV air conditioner can accumulate dirt and debris over time, reducing airflow and efficiency. Use a soft brush or vacuum cleaner to gently remove any buildup from the coils. Be careful not to damage the fins while cleaning. Consider using a coil cleaner to remove stubborn dirt and grime for better performance.
4. Check the Thermostat
Ensure that the thermostat of your RV air conditioner is functioning correctly. Test the settings to make sure the unit turns on and off as expected. If you notice any issues with the thermostat, such as inaccurate temperature readings or failure to activate the unit, consider replacing it to avoid discomfort during your travels.
5. Inspect the Ductwork
Inspect the ductwork of your RV air conditioner for any signs of damage or obstruction. Look for cracks, holes, or loose connections that may affect airflow and cooling efficiency. Seal any leaks or gaps with duct tape or caulking to ensure that air is distributed evenly throughout your RV.
6. Test the Unit
Before hitting the road, test your RV air conditioner to ensure that it is functioning correctly. Turn the unit on and allow it to run for a while to ensure that it cools the interior of your RV effectively. Pay attention to any unusual noises or odors, as these may indicate underlying issues that require attention.
7. Schedule Regular Maintenance
Regular maintenance is key to keeping your RV air conditioner in top condition. Consider scheduling professional maintenance services with a reputable RV repair company like Patriot RV Tech. Routine inspections and tune-ups can help identify and address potential problems before they escalate, ensuring that your air conditioner operates efficiently throughout the summer season.
Conclusion
Preparing your RV air conditioner for summer trips is essential to ensure a comfortable and enjoyable travel experience. By following these steps and enlisting the help of professionals when needed, you can keep your air conditioner in top shape and ready to handle the heat. Don’t let a malfunctioning air conditioner spoil your summer adventures – take the time to prepare and enjoy worry-free travels in your RV.

